

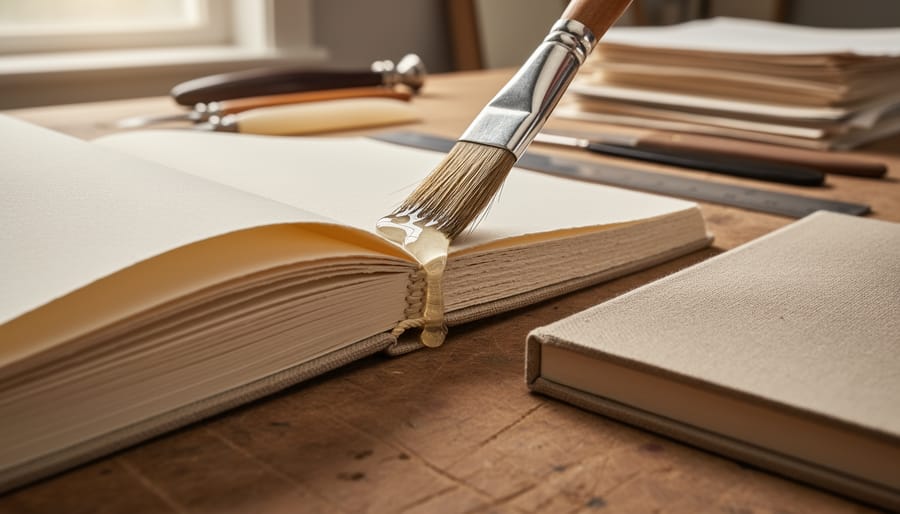
Glue book binding uses PVA (polyvinyl alcohol) adhesive to attach pages to a cover spine, creating a durable, professional-looking book in about two to three hours with minimal tools. This flexible binding method is ideal for short-run projects, personal journals, and writers ready to self-publish your book without investing in expensive equipment or commercial printing. The process works because PVA, an aliphatic rubbery synthetic polymer, remains flexible when dry while forming a strong bond that holds pages securely through repeated opening and closing.
You’ll find PVA adhesives marketed specifically for bookbinding under labels like “archival pH neutral PVA adhesive” or “book repair and binding glue.” These formulations matter: pH-neutral glues won’t yellow or deteriorate your pages over time, which is essential if you’re creating something meant to last. Cold flex varieties work at room temperature and stay pliable, preventing the brittle cracking that ruins cheaper alternatives.
The beauty of glue binding is its accessibility. Whether you’re assembling a poetry chapbook to share with your writing group, creating a prototype of your manuscript, or producing a small batch of zines, the technique gives you complete creative control from first page to finished product. You choose the paper quality, cover design, and trim size. You decide when it’s done.
This guide walks you through selecting the right adhesive, preparing your materials, and applying glue to create a book that opens flat and stands up to handling. You’ll learn which mistakes ruin bindings and how to avoid them, plus safety considerations for working with adhesives. By the end, you’ll have the skills to bind your own work with confidence.
Understanding Book Binding Glue: What You Need to Know
More writers are turning to book binding as a way to give their manuscripts physical form. What was once the exclusive domain of professional bookbinders has become an accessible craft for anyone wanting to create tangible versions of their work. Whether you’re binding a poetry collection for a reading, creating prototype copies of your novel, or simply exploring how books come together, understanding the right adhesive is your first step.
PVA, which stands for polyvinyl alcohol, has emerged as the gold standard for book binding. This aliphatic rubbery synthetic polymer offers the ideal combination of strength, flexibility, and longevity. Unlike craft glues that might work temporarily, PVA creates bonds that hold up to repeated opening and closing while remaining flexible enough that pages turn smoothly without cracking.
The “archival quality” designation you’ll see on professional book binding glues refers to pH neutral formulations. Acidic adhesives gradually break down paper fibers and cause yellowing, which means a book that looks great today might fall apart or discolor within years. pH neutral glues prevent this chemical degradation, preserving your pages in their original state. For writers binding manuscripts, thesis copies, or limited edition runs of their work, this distinction makes the difference between a book that survives and one that doesn’t.
When evaluating glues for binding, look beyond general-purpose adhesives. Book binding requires an adhesive that dries clear, remains pliable, doesn’t warp pages, and creates permanent bonds without becoming brittle. PVA cold flex formulations meet these requirements, which is why they appear consistently in professional bookbinding supplies. The materials you choose directly affect whether your bound book opens comfortably, holds together through handling, and maintains its integrity long after you’ve finished the project.
Tools and Materials You’ll Need
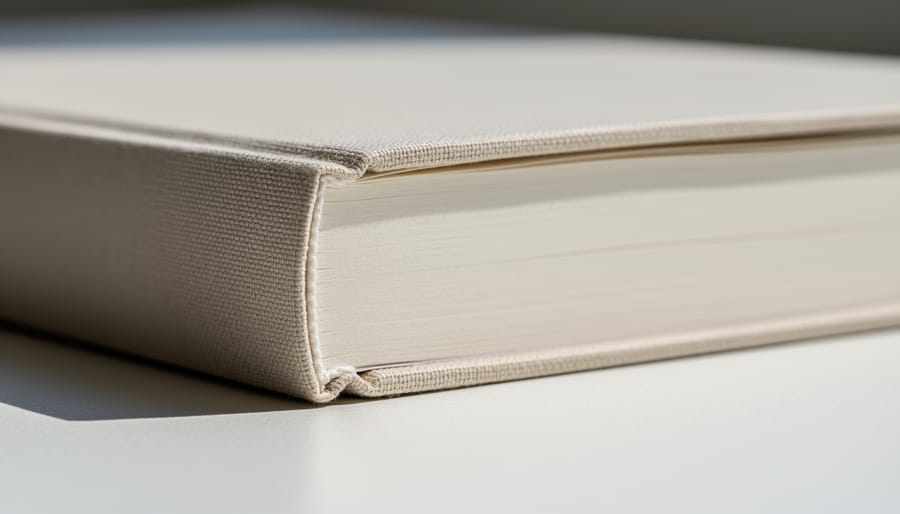
Choosing Your Adhesive
Your adhesive choice shapes everything about your binding project, so selecting the right tools matters from the start. Professional archival PVA adhesives in 8 oz sizes offer the reliability serious bookbinders trust. These formulations provide strong, flexible bonds while maintaining pH neutral properties that protect your pages over time.
Book repair and binding glue kits give you everything in one package, typically including the main adhesive plus smaller application bottles. These kits work well if you’re starting out and want a complete solution without hunting for separate supplies.
A 50/50 wheat starch and PVA blend brings a different quality to the table. This combination offers flexibility for delicate papers while maintaining the strength PVA provides. Some binders prefer this blend for special projects or when working with thinner stock.
Glue rollers designed for book binding simplify application, especially if you’re binding multiple copies or working on longer spines. They spread adhesive evenly and reduce the mess compared to brush application.
Match your adhesive to your manuscript’s purpose. Archival-quality PVA suits projects you want to preserve, personal manuscripts, or gifts. Standard binding glues work fine for drafts, proof copies, or experimental pieces. Consider whether you’ll bind one copy or many, and whether you need forgiveness in your working time or prefer a quick set.
Safety and Workspace Preparation
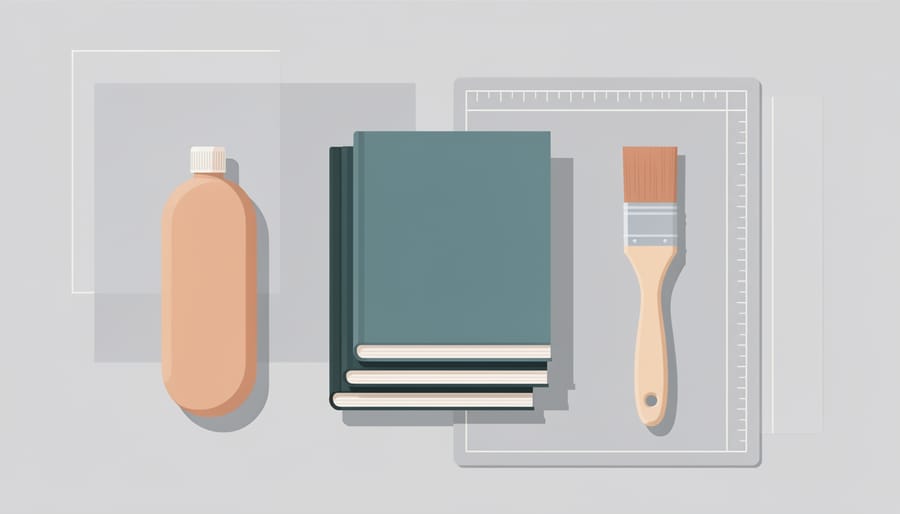
Before you open that first bottle of adhesive, take a few minutes to set up properly. Book binding with glue is a safe, accessible craft, but a well-prepared workspace makes the process smoother and protects both you and your materials.
Start with good ventilation. Open a window or work in a room with airflow, adhesives release fumes as they dry, and fresh air keeps your workspace comfortable. You don’t need an industrial setup, just enough circulation that you’re not breathing concentrated fumes for hours.
Protect your work surface with newspaper, a plastic sheet, or a dedicated cutting mat. PVA glue cleans up with water while wet, but once it dries on your table, it’s permanent. Lay down coverage generously, glue has a way of migrating beyond where you think it will go.
Wear clothes you don’t mind getting messy, and keep a damp cloth within reach for quick cleanup. If glue contacts your skin, wash it off promptly with soap and water. It’s not dangerous, but dried adhesive on your hands makes everything you touch sticky.
Lighting matters more than you might expect. Position a lamp or work near a window so you can see the glue spread evenly across the spine and catch any missed spots before they dry. Shadows hide application errors that become visible only after it’s too late to fix them.
Organize your tools before you start: brushes or rollers, clamps, backing boards, and a timer if you’re tracking drying stages. Once glue is applied, you’re working against the clock, and hunting for a missing clamp mid-process creates unnecessary stress. A clean, methodical setup lets you focus on the craft itself.
Step-by-Step: How to Bind a Book with Glue
Preparing Your Text Block
Stack your manuscript pages in order, aligning them carefully by tapping the edges against a flat surface. Work in small batches if you’re binding a thick book, around 50-100 sheets at a time handles more easily than trying to align everything at once.
Once aligned, place your text block between two boards or heavy books, leaving the spine edge exposed by about half an inch. This is where the glue will go. Apply even pressure with C-clamps or heavy weights on both ends, checking that pages haven’t shifted before tightening fully. The goal is a perfectly flush spine where no single page sticks out farther than its neighbors.
Run your finger along the exposed edge. If you feel bumps or uneven spots, loosen the clamps, realign, and secure again. A clean, level spine ensures the glue spreads evenly and every page adheres properly. This alignment step takes patience, but it’s the foundation of a sturdy binding. Pages that aren’t flush will create weak spots where the book can fall apart later.
Give your clamps a final check before moving to the glue application stage.
Applying the Adhesive
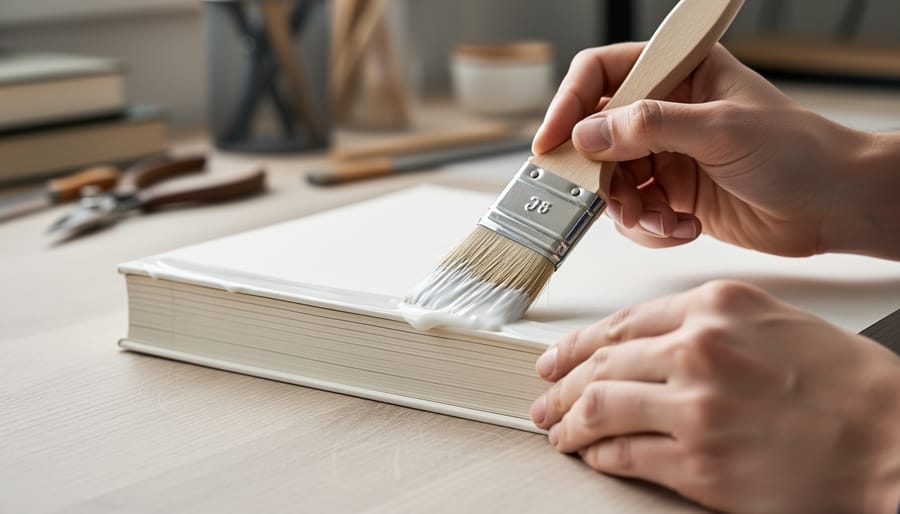
Apply your adhesive in a thin, even layer along the entire spine. This is where many first-time binders make their critical mistake: too much glue creates a messy, rigid spine that cracks when the book opens, while too little leaves pages vulnerable to pulling loose. Aim for complete coverage without pooling or drips.
For brushes, use firm, flat bristles slightly wider than your spine. Dip just the tip of the brush into your PVA adhesive, then stroke from top to bottom in one smooth motion. Repeat until the spine glistens uniformly. Work quickly, PVA starts setting within minutes, and you can’t reposition once it begins to grab.
Glue rollers offer more consistent coverage and suit larger projects beautifully. Roll from one end of the spine to the other in overlapping passes, applying gentle, even pressure. The roller distributes adhesive more uniformly than most hand-brushing, reducing the risk of thick spots that never fully dry.
Common errors to avoid: scrubbing back and forth (which forces glue between pages instead of keeping it on the spine surface), applying a second coat before the first sets (which weakens the bond), and using cold glue straight from storage (let it reach room temperature first for better flow). Keep a damp cloth nearby to catch drips immediately.
Speed matters, but precision matters more. You have a small window to work, so prepare everything beforehand and move with purpose, not panic.
Attaching Covers and Final Assembly
With your glued text block ready, it’s time to bring the covers into place and complete your book.
Position your cover boards on a clean, flat surface. If you’re using endpapers, apply a thin, even layer of glue to the outer side of the front endpaper, working from the spine edge outward. Carefully lower the front cover board onto the glued endpaper, aligning it precisely with the spine edge, leave a small overhang at the head, tail, and fore-edge for a professional finish. Press firmly but gently to ensure good contact.
Repeat this process for the back cover. Work methodically: glue the back endpaper, position the back cover board with the same alignment and overhang, and press down.
Once both covers are attached, place the entire book between two clean boards or protective sheets. Apply even pressure across the entire surface using clamps or heavy weights. This prevents warping and ensures the covers bond securely to the text block.
Leave the book clamped and undisturbed while the adhesive sets. Resist the urge to check too soon, proper curing creates a binding that will last. When you remove the clamps, you’ll hold a finished book: your words, your work, bound by your own hands.
Testing Your Binding and Next Steps
Once your book has dried completely, it’s time to test whether your binding holds up. Open the book gently to a random page near the middle and check that the spine flexes without cracking or pulling away from the text block. A well-bound book should open smoothly, with the spine showing a slight curve but no gaps between the adhesive and the pages. Run your finger along the inside edge of the spine, you shouldn’t feel loose pages or areas where the glue didn’t reach.
Try the pull test next: carefully tug on a page near the front and back of the book. It should resist your pull without budging. If a page slides out easily, your adhesive application may have been too thin or uneven in that area. Check for warping by placing the closed book on a flat surface, it should sit level without rocking. Warping usually happens when too much moisture from the glue soaked into the pages, causing them to expand unevenly.
Common issues have straightforward fixes. If you notice a weak spine, you can carefully apply a thin second coat of PVA along the problem area and re-clamp. Uneven glue distribution often shows as lumpy areas along the spine, next time, work in thinner layers and use your brush or roller to spread more evenly. Pages pulling loose at the corners? That’s typically a clamping problem; make sure you’re applying firm, even pressure across the entire spine during the drying phase.
Don’t be discouraged if your first binding isn’t perfect. This is a hands-on craft that improves with each attempt. Avoid procrastination and dive into your next project while these lessons are fresh, you’ll refine your technique faster by doing than by overthinking.
Common Questions About Glue Book Binding
Can I bind different paper weights together?
Yes, you can mix weights, but know that thicker pages create more bulk at the spine. Group similar weights when possible, and press the whole block firmly before gluing to minimize gaps. The adhesive holds well across varied stock as long as everything’s clamped tightly during application.
What if my glue dries too fast while I’m working?
Work in smaller sections and keep a damp cloth nearby to clean your brush between applications. If the glue starts to set before you finish, don’t add more on top, let it dry completely, then lightly sand the spine and reapply a fresh layer. Speed comes with practice.
How do I fix a binding mistake?
If pages aren’t adhering properly, you can usually separate them gently before the glue fully cures, clean off the adhesive, and try again. Once dried, mistakes are harder to reverse without damaging the paper. Test your technique on scrap material first to build confidence.
Is glue binding suitable for manuscripts I want to keep long-term?
Absolutely, provided you use archival pH neutral PVA adhesive. These formulations resist yellowing and deterioration over decades, making them ideal for preserving your work. Avoid cheap craft glues for anything you care about keeping, invest in proper bookbinding adhesive from the start.
These questions come up constantly, and the answers are simpler than most beginners expect. Glue binding isn’t delicate magic. It’s forgiving enough to let you learn through trial, and strong enough to create books that last. If you’re worried about ruining a manuscript, practice the full process on printed drafts first. You’ll quickly discover what works, what doesn’t, and how much pressure your particular paper stock can handle.
The real advantage of glue binding over methods like saddle stitching or spiral binding? You get a clean, professional spine and the flexibility to bind any page count. Unlike sewing, which requires specialized tools and patience for threading, glue binding delivers results in an afternoon. You won’t achieve the heirloom durability of hand-sewn signatures, but for most writers creating personal copies or small print runs, PVA adhesive offers the ideal balance of strength, simplicity, and accessibility.
You’ve just learned to transform a stack of pages into something permanent, something real. That’s no small thing. Binding your own book connects you to centuries of craft tradition while giving you complete creative control over how your words enter the world. Whether you’re creating proof copies, gift editions, or personal archives, you now have a skill that bridges the gap between digital manuscript and physical object.
This process fits naturally into your self-publishing toolkit alongside editing, cover design, and marketing. Every book you bind teaches you something new about materials, technique, and your own work. Your mistakes become learning moments; your successes become keepsakes.
We’d love to hear about your binding projects. Share your experiences, questions, and photos with our writer community your experiments and discoveries help other creators build confidence. Explore our community programs for more hands-on workshops and collaborative opportunities.
You wrote the words. Now you’ve built the book. That’s the kind of tangible accomplishment that reminds you why you started writing in the first place.
